Loading...
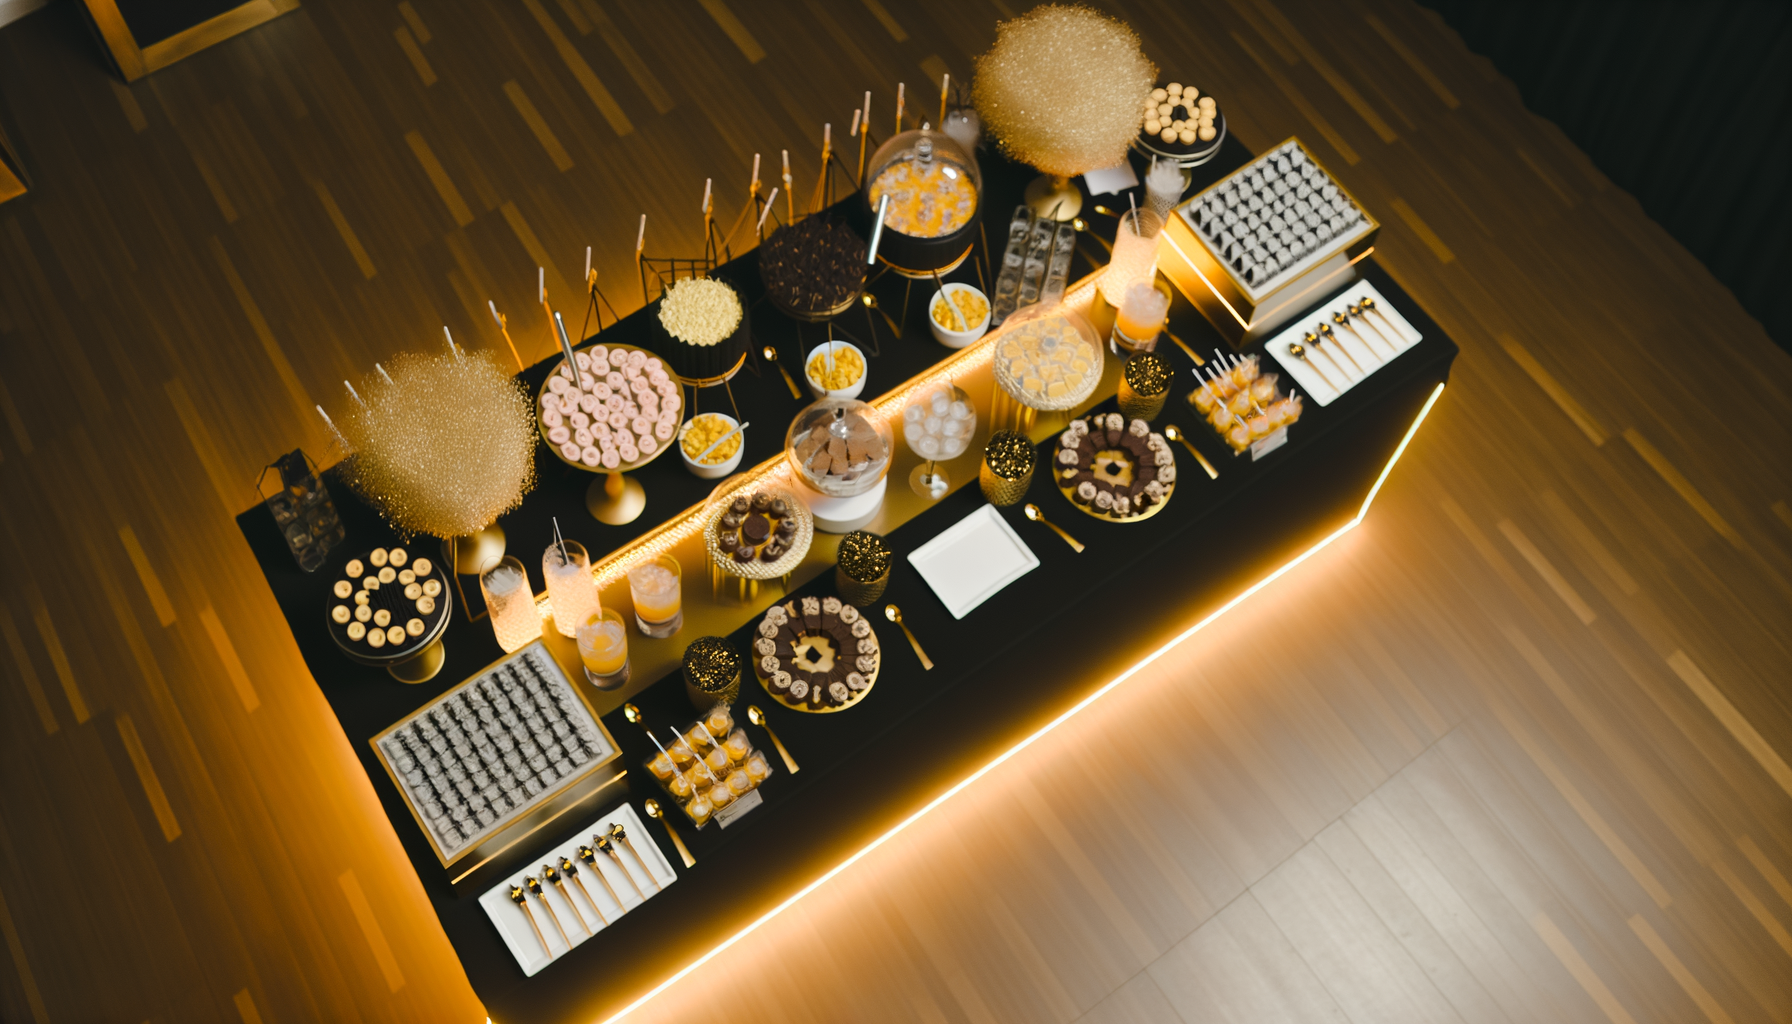
How to Set Up a Black and Gold Dessert Table in 15 Steps
By The Mobile Bartender12 min read
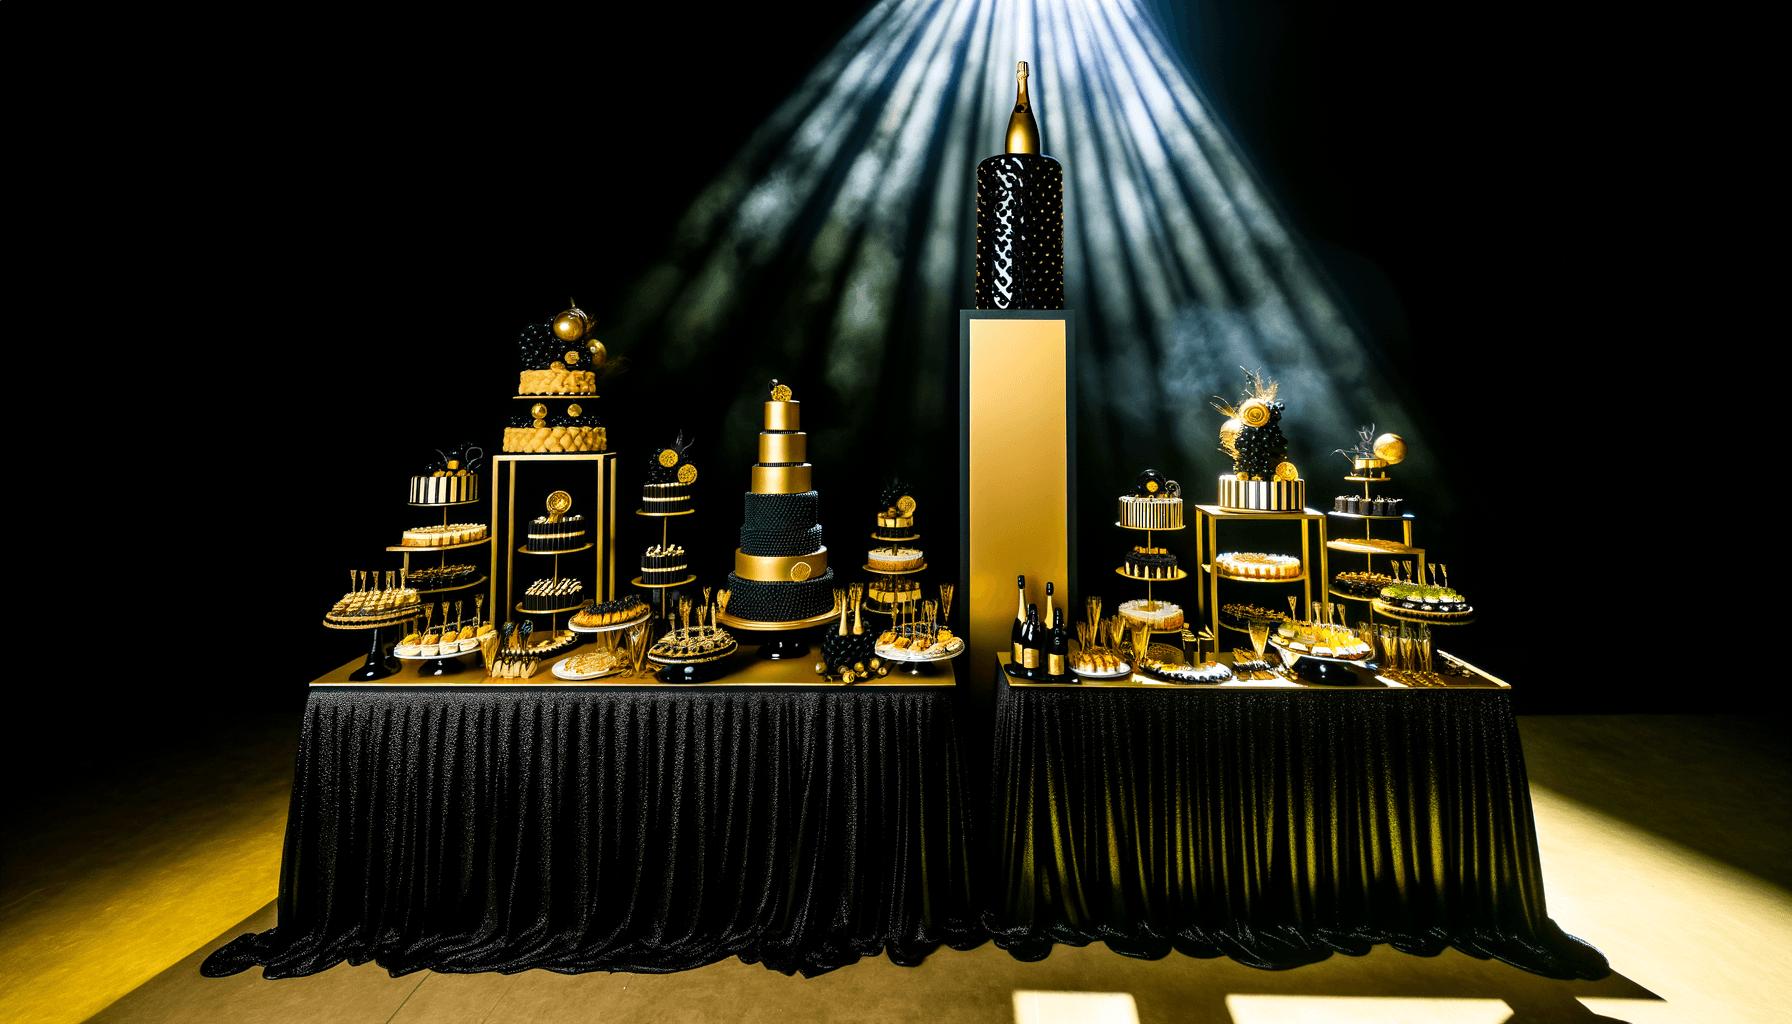
Table of Contents
Join The Speakeasy
Unlock exclusive cocktail recipes, pro techniques, and first access to limited tool drops. Members only.
A dessert table is where guests linger. They take photos. They talk about your party days later.
Get it right and people remember your event. Get it wrong and it's just a table with cookies on it.
We've set up dessert tables for weddings, birthday parties, and corporate events. This guide walks you through the exact process we use every time.
You'll spend 90 minutes on setup. The result looks like you paid someone hundreds of dollars.
Before You Start: The Three-Layer Rule
Every professional dessert table uses three visual layers:
- Base layer - your tablecloth and foundation
- Display layer - tiered serving pieces at different heights
- Accent layer - decorative elements that fill gaps
Amateurs put everything at the same height. Professionals create depth.
The three-layer approach naturally guides the eye across the table. Guests see the whole display instead of focusing on one thing.
Step 1: Choose Your Table Location
Place your dessert table where guests naturally gather. Near the bar works well. By the exit creates a nice send-off moment.
Avoid high-traffic areas where people push past. You want guests to stop and browse, not grab and go.
The table needs to be visible from the main party space. If guests can't see it, they forget it exists.
Wall placement works better than center-of-room. Guests can access from three sides max. A wall behind the table creates a natural backdrop for photos.
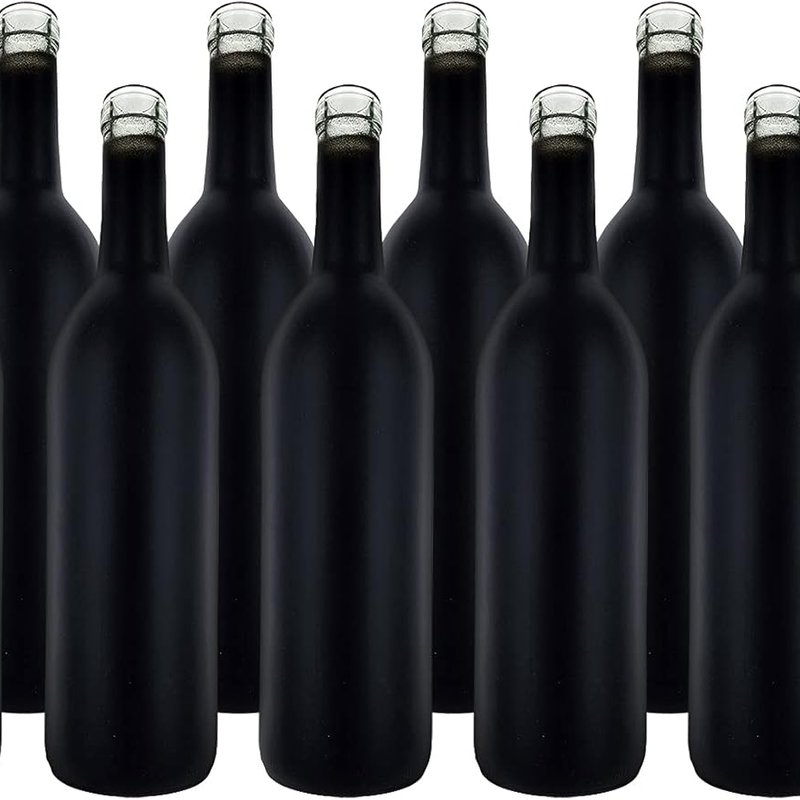
Step 2: Start with Black Tablecloths
The foundation matters more than anything else on top of it.
Affiliate Link
We may earn a commission
Black Tablecloths 90x132 Inch - 6 Pack
★
★
★
★
★
4.6 (2,134 reviews)
$59.99
Premium polyester tablecloths that fit 8-foot banquet tables
- Perfect fit for standard 8-foot tables
- Wrinkle-resistant polyester
- Stain-resistant finish
- Hemmed edges prevent fraying
Black provides contrast that makes food pop. Desserts look brighter and more appealing against dark backgrounds.
The fabric should touch the floor. That extra length hides storage bins and supplies underneath. It also creates a more formal, finished look.
Pull the tablecloth tight and use clips underneath if needed. Wrinkles catch light and look sloppy in photos.
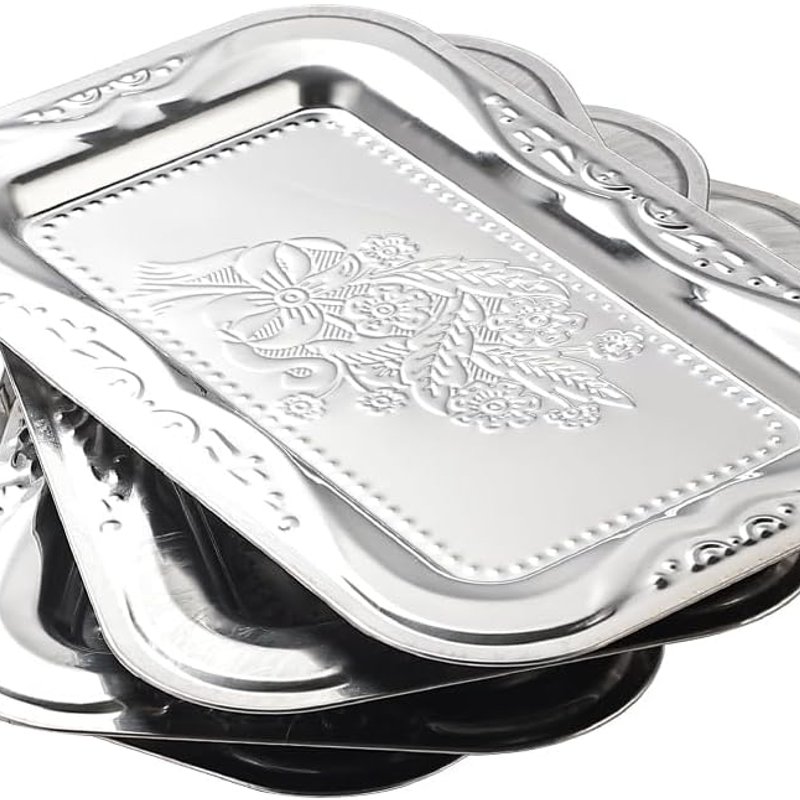
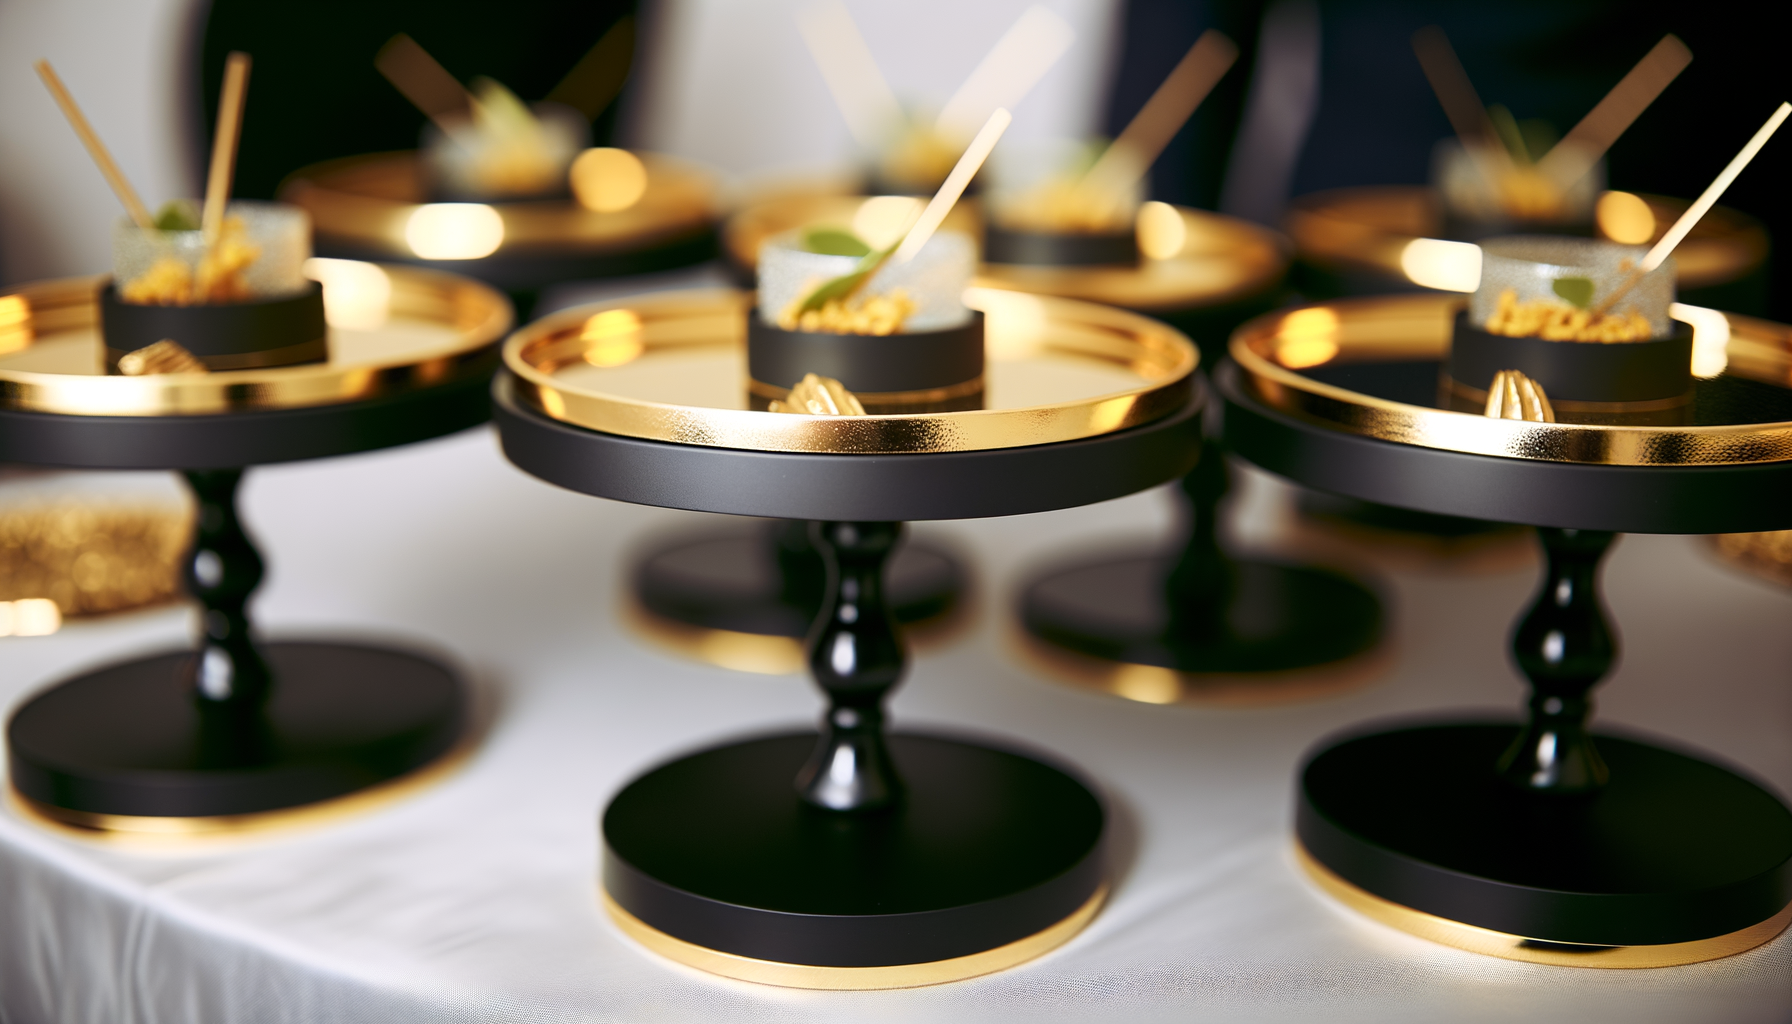
Step 3: Add Silver Serving Trays for Height Variation
Trays create your display layer. Different sizes at different heights keep things interesting.
Affiliate Link
We may earn a commission
4-Pack Silver Serving Trays - Mirror Decorative Platters
★
★
★
★
★
4.8 (1,923 reviews)
$35.99
Elegant silver mirror trays with floral engraving for parties
- Premium mirror finish reflects light
- Elegant floral and bow engravings
- Perfect size for appetizers and desserts
- Durable stainless steel
- Easy to clean
The mirror finish on these trays reflects light and makes the whole table sparkle. That's the gold accent working even on silver trays.
Place trays at different depths on the table. Front, middle, and back create that three-dimensional look.
One customer said: "The mirror finish is flawless and the engraving adds an elegant touch." We agree. The engravings catch light without being too busy.
Use boxes or risers under trays to create different heights. Stack sturdy boxes and cover with extra black fabric. The trays sit on top.
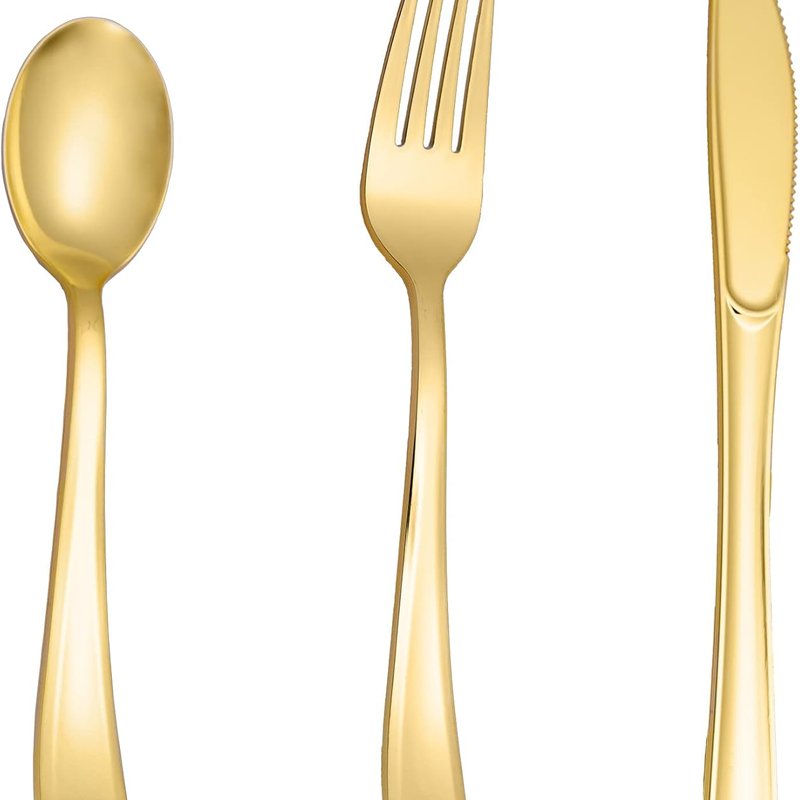
Step 4: Set Out Gold Flatware
Give guests proper utensils. Plastic forks work fine if they look good.
Affiliate Link
We may earn a commission
Gold Plastic Silverware - 200 Piece Disposable Cutlery Set
★
★
★
★
★
4.7 (3,156 reviews)
$26.99
Elegant gold plastic utensils that look like real metal flatware
- Luxurious metallic gold finish
- Heavy-duty construction won't bend
- Perfect weight and balance
- Serves 50-100 guests
- 100 forks, 50 spoons, 50 knives
Arrange goldware in a napkin holder or small vase. Forks facing up looks cleaner than a pile on the table.
The gold color matches your theme without shouting about it. Guests notice the cohesiveness even if they don't think about why things look good.
Heavy-duty plastic matters. Flimsy forks break when cutting into dense cakes or brownies. These hold up.
A verified buyer wrote: "Guests at our wedding thought they were metal." That's the quality you want - good enough that people question if it's disposable.
Step 5: Place Black Napkins Near Silverware
Napkins go within arm's reach of utensils. Guests grab both at once.
Affiliate Link
We may earn a commission
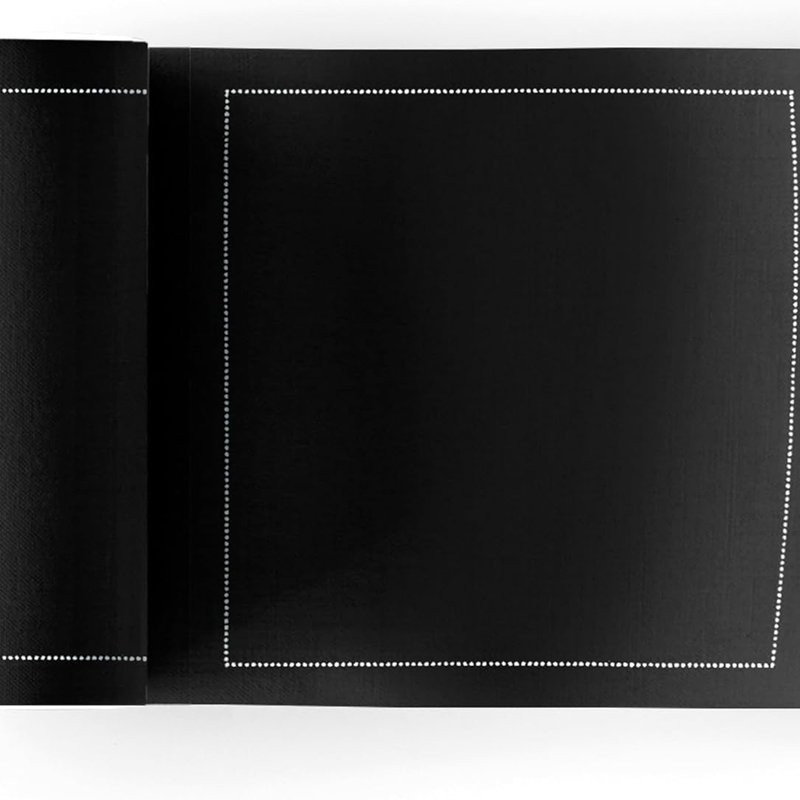
Cotton Cocktail Napkins Black - 2 Rolls (500 Count)
★
★
★
★
★
4.7 (1,654 reviews)
$19.99
Premium black linen-like cocktail napkins for elegant parties
- Soft linen-like feel
- Deep black color that doesn't fade
- 2-ply construction for durability
- Perfect size for cocktails and appetizers
- Bulk pack of 500
The linen-like texture feels substantial. Regular paper napkins feel cheap when you're trying to create an upscale look.
Stack napkins in a holder rather than fanning them out. Stacked napkins stay cleaner and look more organized.
Black napkins hide stains better than white. Chocolate smudges and frosting disappear. That matters when napkins sit out for hours.
Step 6: Add a Decorative Napkin Holder
Don't just pile napkins. Present them.
Affiliate Link
We may earn a commission
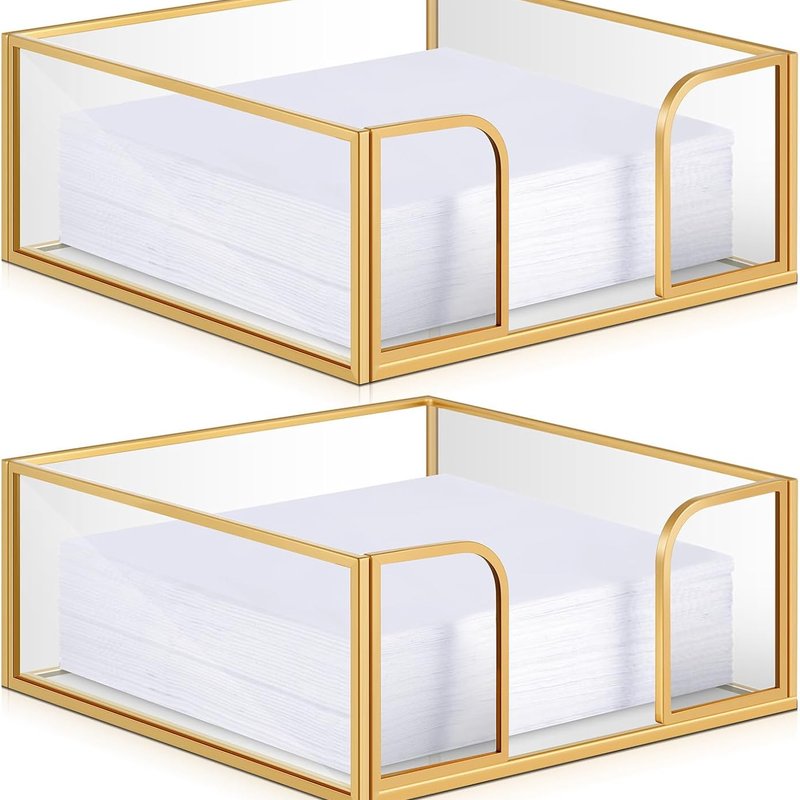
LemonRoad Decorative Cocktail Napkin Holder - 4.3x4.3 Inch
★
★
★
★
★
4.6 (892 reviews)
$16.99
Elegant decorative napkin holder perfect for cocktail parties
- Elegant decorative design
- Weighted base prevents tipping
- Fits standard cocktail napkins
- Non-slip bottom protects surfaces
- Easy one-handed dispensing
The weighted base keeps the holder stable when guests pull napkins. Lightweight holders slide around and fall over.
Place the holder front-center on the dessert table. Guests should see and reach it easily.
One review mentioned: "The design adds an upscale touch to our bar area." The same applies to dessert tables. Small decorative details add up.
Step 7: Arrange Plates by Size
Plates go at the start of your dessert table. Guests pick them up first and work their way down.
Affiliate Link
We may earn a commission
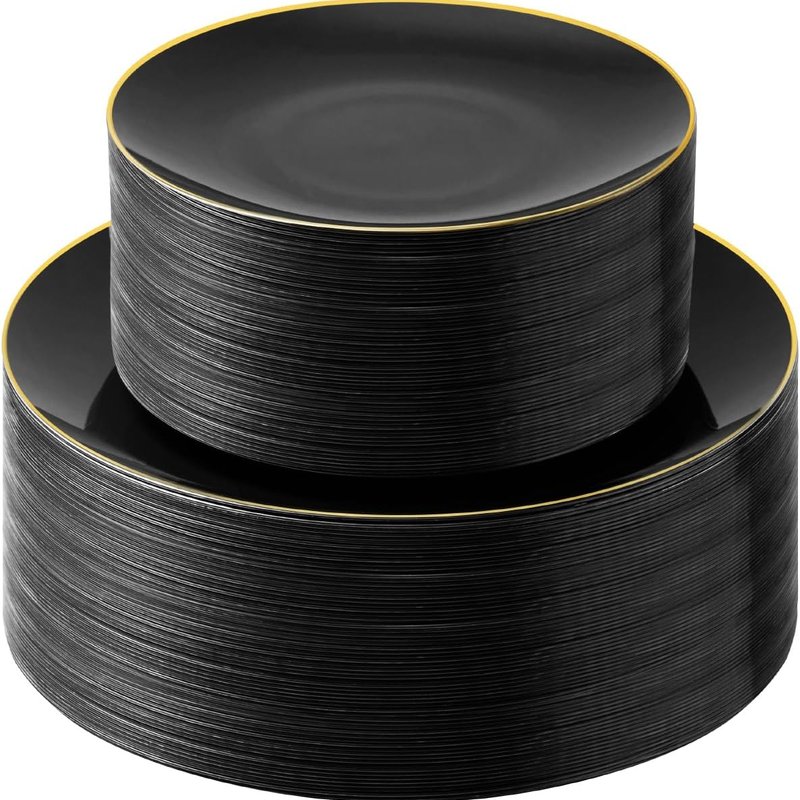
Black and Gold Disposable Plates - 150 Piece Party Pack
★
★
★
★
★
4.7 (3,842 reviews)
$44.99
Elegant black plates with gold rim perfect for weddings and parties
- Black plates with gold rim design
- Three sizes for complete service
- Heavy-duty plastic won't bend
- 50 dinner, 50 salad, 50 dessert plates
- Perfect for 50 guests
Stack dessert-size plates at the front. Salad plates in the middle. Dinner plates at the back if you're serving substantial desserts.
The gold rim catches light and creates visual interest. All black would blend into the tablecloth. The rim defines each plate.
Stack plates in groups of 10-12. Higher stacks fall over. Multiple shorter stacks let more guests grab plates at once.
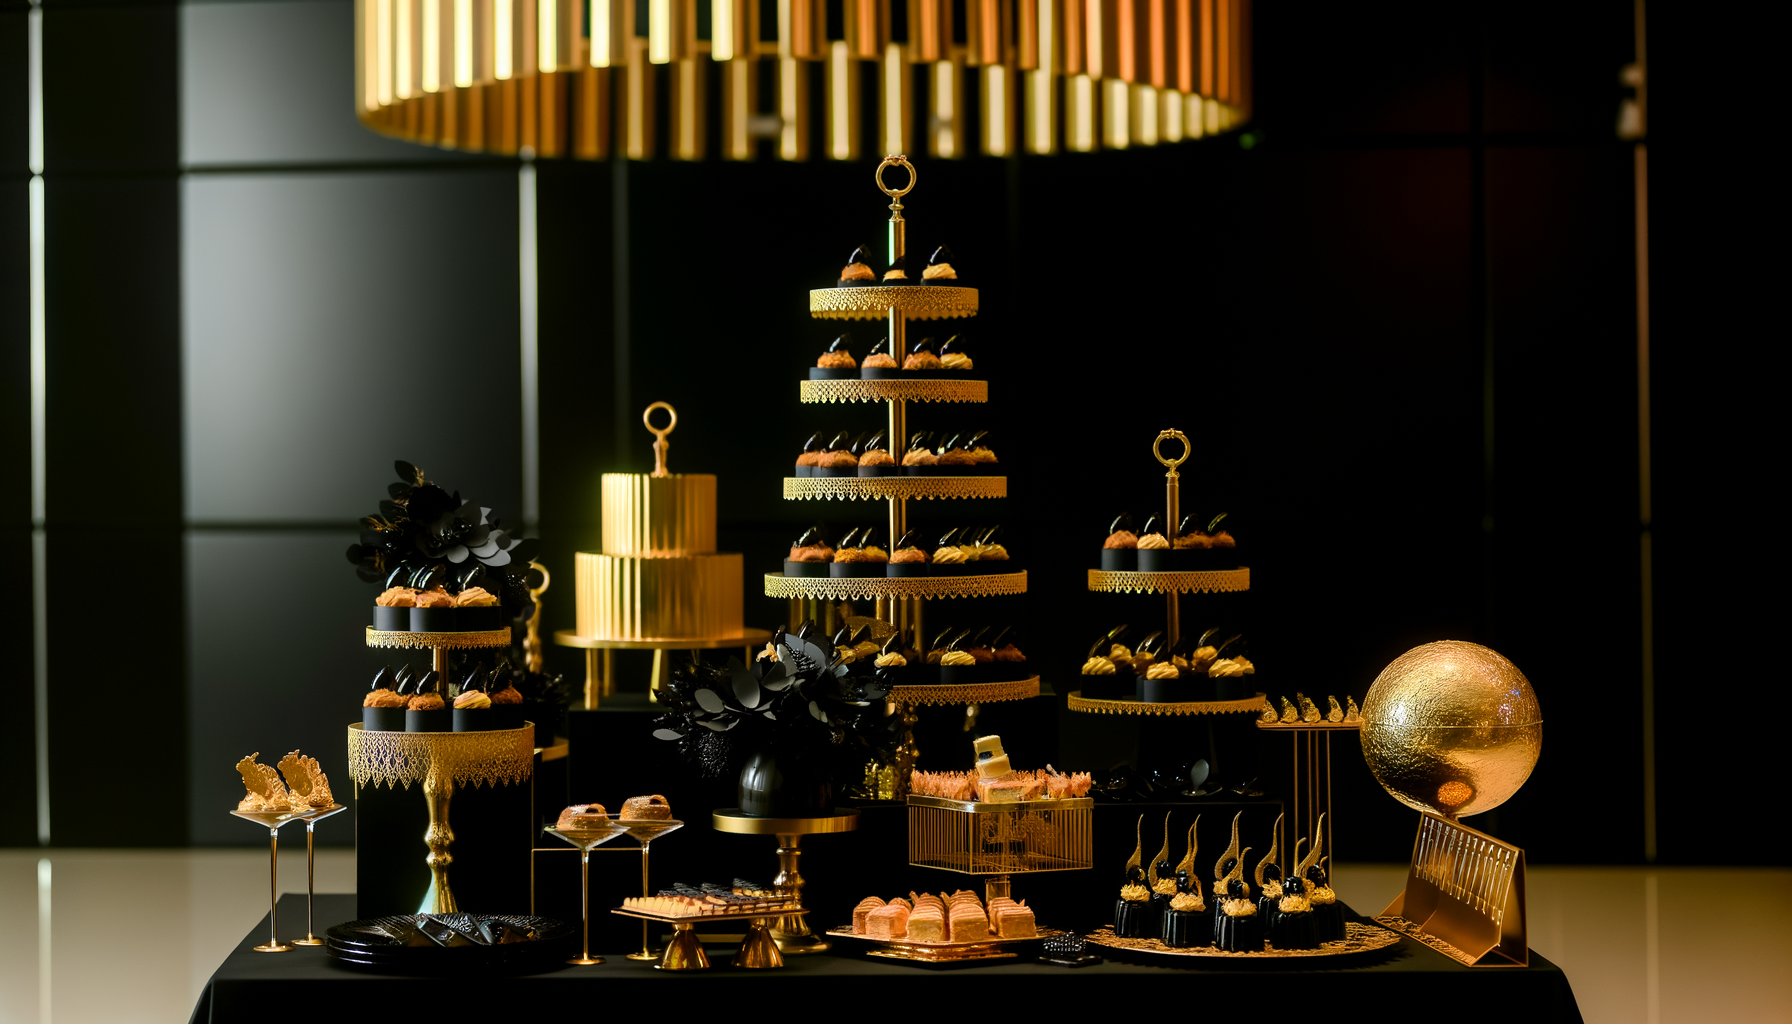
Step 8: Create Height with Risers
Flat tables look boring. Use risers to create different levels.
Grab sturdy boxes from your garage or buy acrylic risers. Cover boxes with black fabric that matches your tablecloth.
Place your tallest display in the back center. Medium heights on either side. Shortest pieces in front.
This creates a natural pyramid shape. Guests see everything on the table without items blocking each other.
The back-to-front height progression looks intentional. It guides the eye across all your desserts instead of fixating on one area.
Step 9: Fill Trays with Desserts
Now add your actual food. Work from large items to small.
Start with your statement piece - the cake, large cookie display, or signature dessert. That goes on the highest riser in back.
Add medium items to medium-height trays. Cupcakes, brownies, individual desserts work here.
Small items go on front trays. Cookies, candies, bite-size treats sit at the table's edge.
Leave some empty space on each tray. Overcrowding looks messy. White space (or black space in this case) adds elegance.
Step 10: Add Small Gold Accents
This is where your theme comes together. Small gold touches tie everything into the black foundation.
Scatter gold confetti around the base of serving trays. Not everywhere - just a few strategic spots.
Use gold doilies under select dessert items. One or two, not all of them.
Place small gold frames with dessert labels. "Dark Chocolate Brownies" sounds better than unlabeled brown squares.
The goal is balance. Enough gold that the theme is obvious but not so much that it overpowers the desserts.
Step 11: Add Candlelight (LED or Real)
Candles create ambiance. The flickering light makes the whole table feel special.
Place votives or tea lights between dessert displays. Not directly next to food - heat affects frosting and chocolate.
LED candles work better than real flames near food. They don't produce heat. You also don't worry about wax dripping onto desserts.
Use black or gold candle holders to match your theme. Even simple tea light holders look intentional when they coordinate with your colors.
Three to five candles for a six-foot table. More creates fire hazards. Fewer doesn't have much impact.
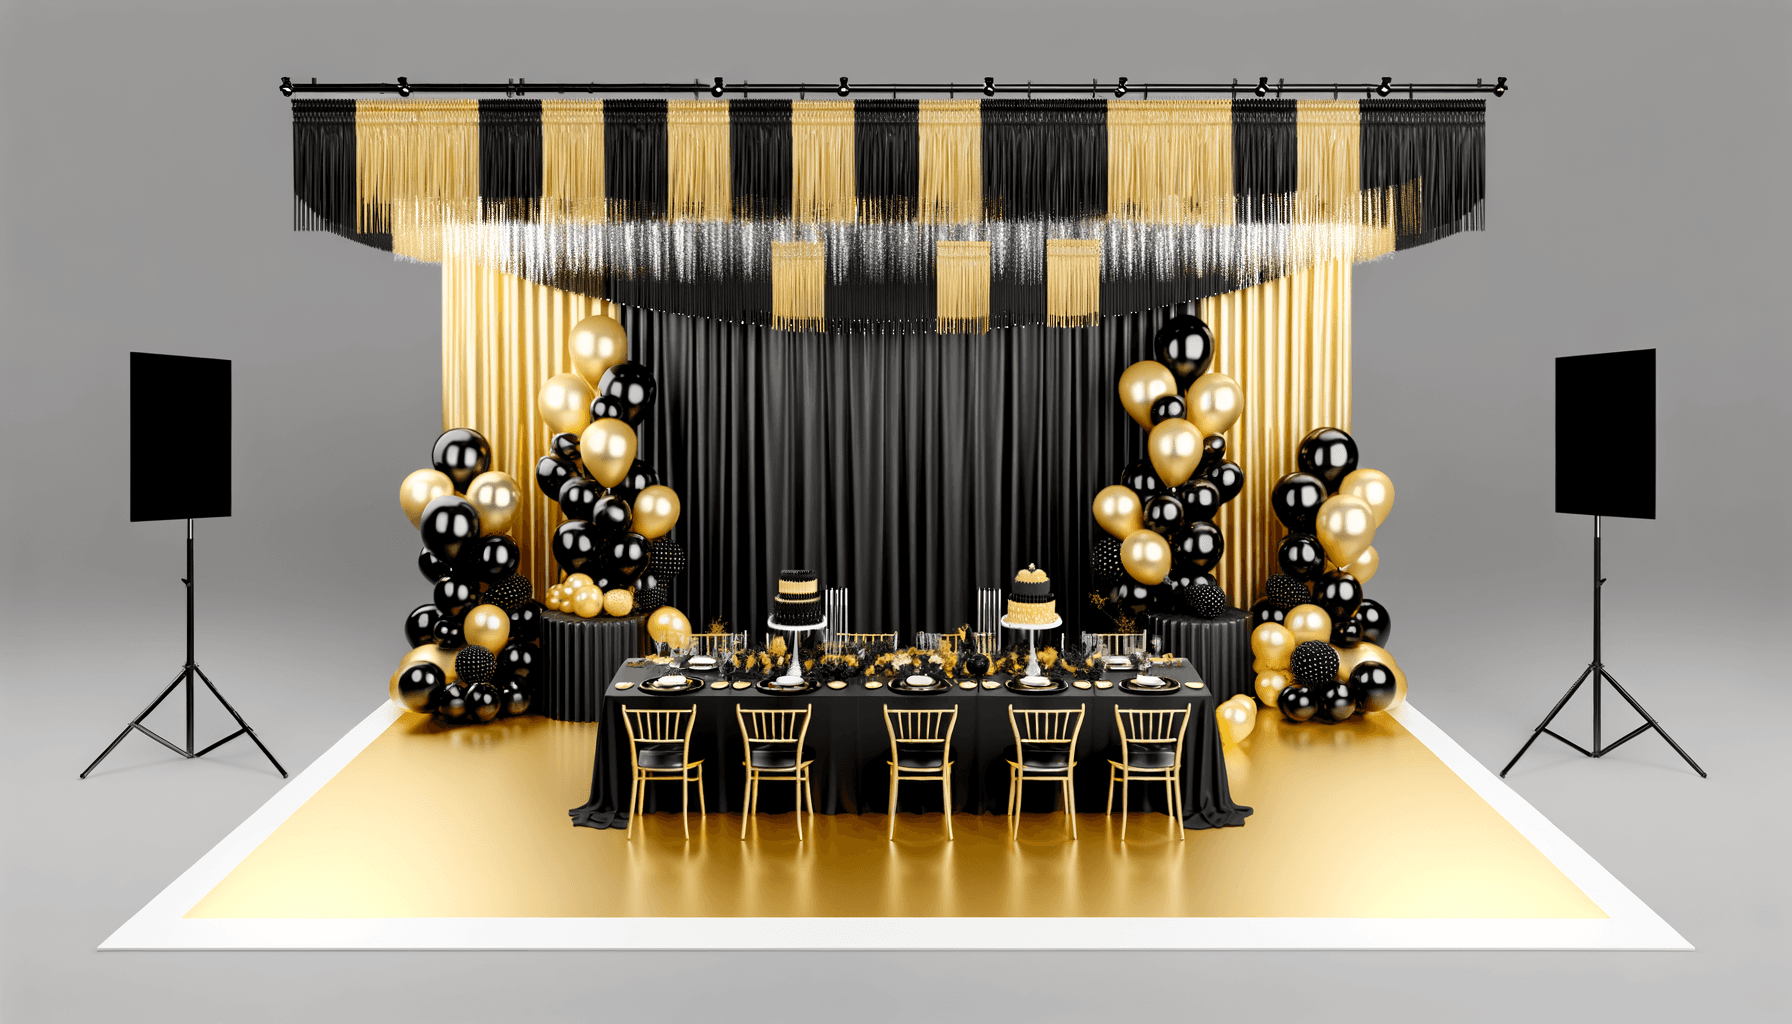
Step 12: Add a Photo-Worthy Backdrop
Most guests take photos of dessert tables. Make your backdrop Instagram-ready.
Balloon garlands work well behind dessert tables. The black and gold colors frame the food perfectly.

Hang a simple black fabric backdrop with gold star confetti attached. Or use gold letter balloons spelling "CELEBRATE" or "SWEET."
The backdrop doesn't need to be expensive. A $30 balloon kit or $20 worth of fabric and command hooks creates the right effect.
Keep it simple. The desserts should be the focus. The backdrop just adds context and fills empty wall space.
Step 13: Add Final Touches
Step back and look for gaps. Empty spaces need small decorative elements.
Scatter a few extra napkins artfully near the plates. Place a small vase with black and gold flowers in an empty corner.

Add height variation with different sized candlesticks if you have them.
Check that every item is accessible. Guests shouldn't have to reach over one dessert to grab another.
Make sure labels are visible if you have them. People want to know what they're eating before they take it.
Step 14: Do a Walk-Through Test
Walk past your table like a guest would. Grab a plate. Move down the table. Take a dessert.
Does anything block your movement? Fix it. Is anything hard to reach? Move it forward. Do the heights work? Adjust if needed.
Take a photo from guest eye-level. That's what Instagram will see. If it looks good in your phone, it'll look good in person.
Check your lighting. Turn off overhead lights if you can and see how candles affect the look. Adjust candle placement if shadows hide desserts.
Step 15: Maintain Through the Event
Dessert tables don't stay perfect. Plan for maintenance.
Assign someone to refill empty trays halfway through the event. Nothing looks worse than a picked-over dessert table with sad lone cookies.

Keep backup napkins, plates, and utensils under the table. Quick restocking keeps things looking fresh.
Wipe up spills immediately. Black shows crumbs and powdered sugar. Keep a damp cloth handy.
Remove empty trays rather than leaving them. Three full trays look better than five half-empty ones.
Common Setup Mistakes
Putting everything out at once. Hold back 30-40% of desserts. Refill trays midway through. This keeps things looking abundant.
Ignoring guest flow. The table should work left-to-right or right-to-left. Plates first, desserts in the middle, napkins and utensils at the end. Don't make guests backtrack.
Same-height displays. Everything at table level looks flat. Use risers. Create visual interest with height variation.
Too many decorative elements. The desserts are the star. Decorations should support, not compete. When in doubt, remove an element.
Not testing stability. Tap every riser, tray, and display. If it wobbles, fix it before guests arrive and bump the table.
Shopping List for 50 Guests
Here's exactly what to buy:
Foundation:
- 1 black tablecloth (90x132 inches) - $10
- 4 silver serving trays - $36
Serving supplies:
- 200-piece gold silverware set - $27
- 500 black cocktail napkins - $20
- 1 decorative napkin holder - $17
- 150-piece plate set (serves 50) - $45
Decorations:
- Black and gold balloon arch kit (backdrop) - $30
- 5 LED tea lights - $8
- Gold confetti - $6
Total: $199 for a complete dessert table that serves 50 guests.
Add $50-75 for additional decorative elements like photo frames, gold doilies, or fresh flowers.
Disclosure: As an Amazon Associate, I earn from qualifying purchases. This means if you click on an affiliate link and make a purchase, I may receive a small commission at no extra cost to you. This helps support the blog and allows me to continue providing free content. All opinions and recommendations are my own.
❓
Frequently Asked Questions
How many desserts do I need per guest?
Plan for 3-4 pieces per guest. For 50 guests, that's 150-200 individual desserts. Include variety - 3-4 different types minimum. Guests want choices but not so many options that they can't decide.
When should I set up the dessert table?
Set up the table structure (cloths, trays, risers) the night before or early morning. Add desserts 2-3 hours before guests arrive. Perishable items (cream-filled, fresh fruit) go out last, 30-60 minutes before guests arrive.
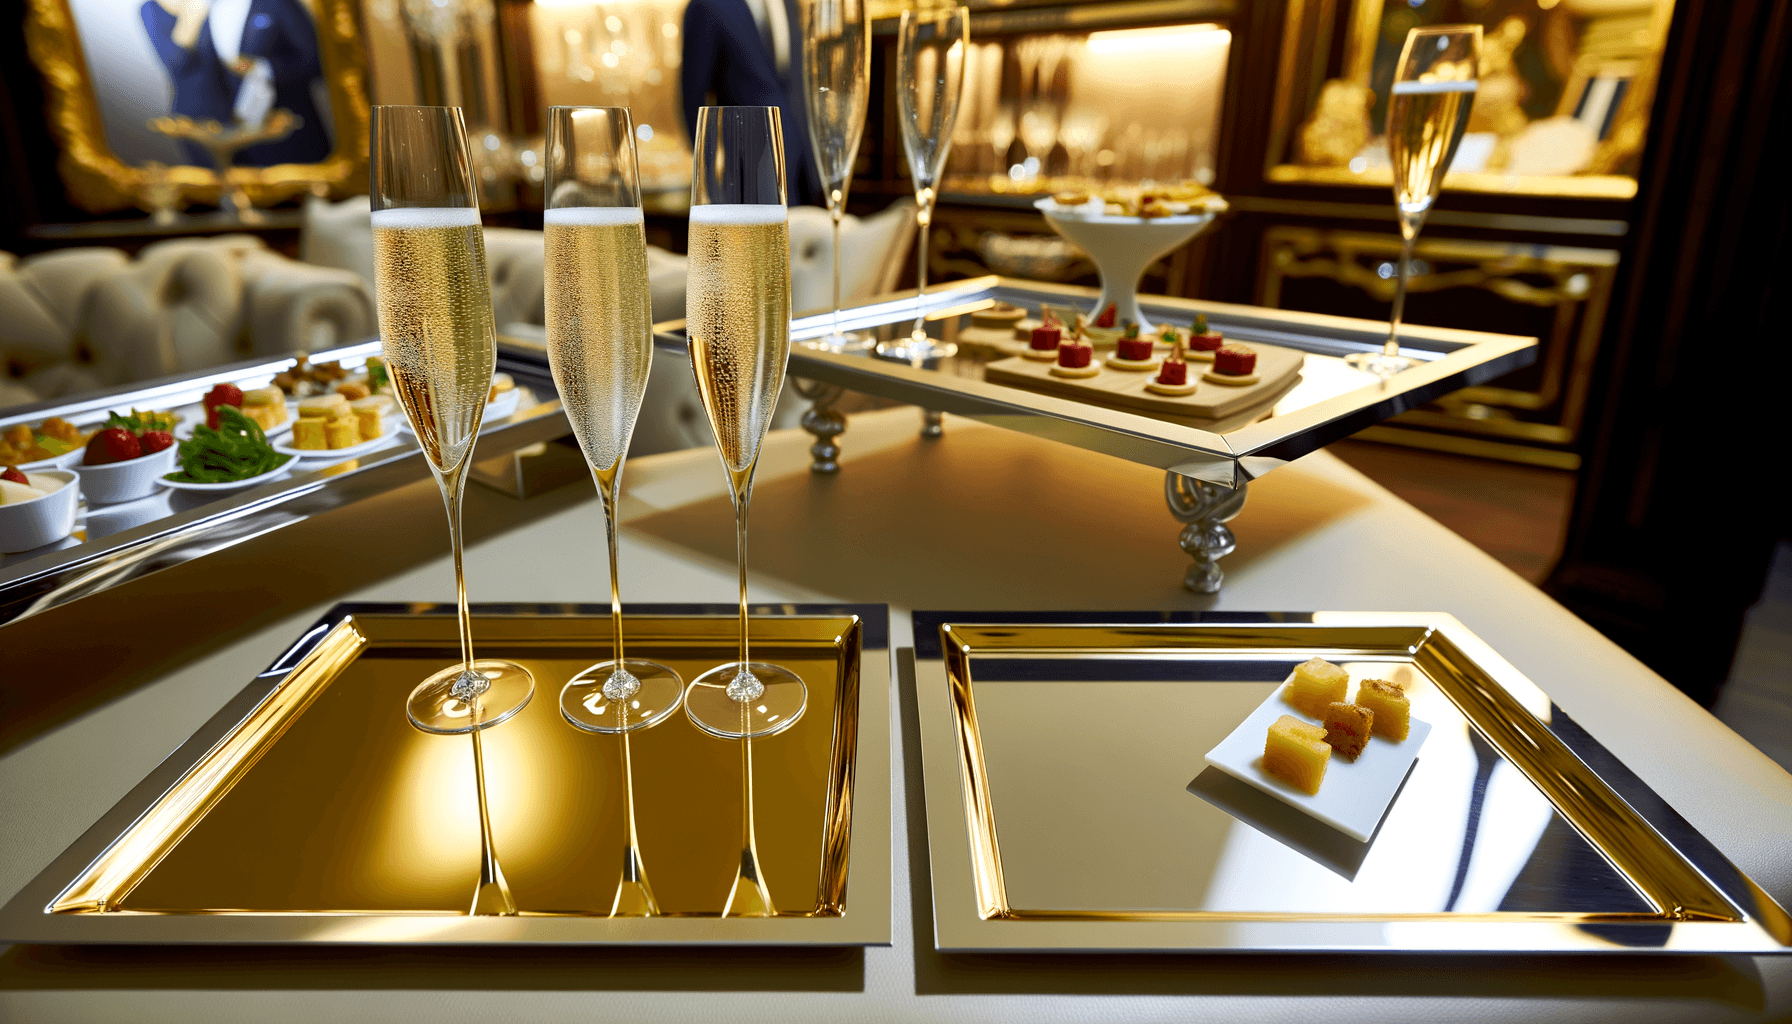
Do I need a separate drinks station?
Yes. Don't put drinks on the dessert table. Liquids + desserts = spills and soggy cookies. Set up a beverage station within 6 feet of the dessert table. Guests grab dessert, turn, and get their drink. The flow works naturally.
How do I keep chocolate from melting?
Avoid direct sunlight on your dessert table. Keep room temperature below 72°F if possible. Use LED candles instead of real flames near chocolate. Set chocolate desserts on trays with ice packs underneath (covered with decorative fabric so guests don't see).
Should desserts be pre-plated or self-serve?
Self-serve works better for casual events and creates better guest flow. Pre-plated looks more formal but requires someone serving, which creates a line. If your event is under 30 people, pre-plated works. Over 50 guests, go self-serve.
How do I prevent cross-contamination for allergies?
Label all desserts with ingredients. Use separate serving utensils for each dessert. Place nut-free options on one side, clearly labeled. Keep a list of all ingredients visible for guests to review. When in doubt, over-communicate about allergens.
Join The Speakeasy
Unlock exclusive cocktail recipes, pro techniques, and first access to limited tool drops. Members only.
About The Mobile Bartender
Expert guides and reviews for mobile bartenders. We test products, share honest reviews, and help you launch and grow your mobile cocktail business.
You Might Also Like
Found this helpful? Share it with others who might benefit.